|
After you have cleaned the M1 Garand,
you will then naturally want to reassemble it. The
following pages delineate the steps we take to put
the rifle back together after field stripping.
Reassembling the M1 Rifle after field stripping
is simple. However, always wear safety glasses when
working on any part of the rifle as the unexpected
can always happen.
No tools are needed
for the process of reassembling a field stripped
M1 Rifle.
While reading this
section you may want to refer to the Nomenclature Pages if any of the part names don't
ring a bell.
The first step of re-assembly
is to lay out all the parts that you will need.
In this case it this consists of the Receiver and
it's attached parts, The Trigger Group, and the
Stock.
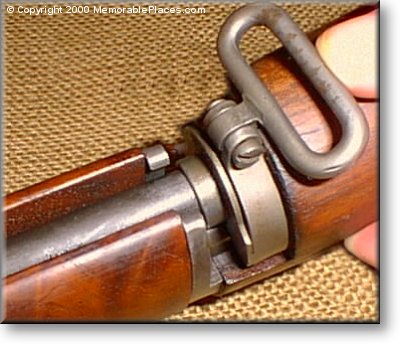
The first step in putting the rifle
back together is to mate the Stock to the Receiver
Assembly.
Do this by holding
the Receiver by the Front Handguard and gently slipping
the Ferrule end of the Stock into the rear lower
portion of the Lower Band as shown below.
Rotate the stock down
onto the 'legs' of the Receiver using an arcing
movement.
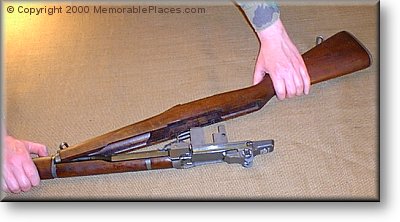
You are now ready
to place the trigger group.
Next Page

|