|
The next step that we perform is
to insert the Rear Sight Aperture into the Sight
Base. The Aperture should slide in freely until
it bottoms out.
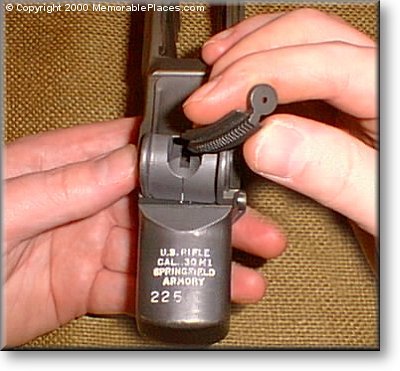
With the Rear Sight Aperture in place turn
your attention to the Elevation Knob. This knob
simply slips on from the left hand side through
the Ears in the Receiver, under the Cover Spring,
and into the Rear Sight Base. The Splines on the
Elevation Knob Should come into contact with the
splines on the Aperture in such a way that the long
indexing mark below the 2 on the Elevation Knob
Lines up with the index mark on the Receivers Sight
Ear. I then push the knob till it sits directly
against the Receiver.
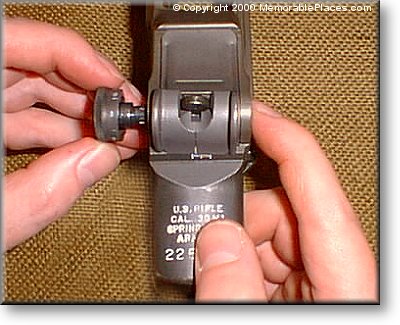
The final part to attach is the Windage Knob.
In order to prepare for this move the Sight Base
so that its index mark lines up one line to the
left of center as marked on the Receiver. The reason
we do this is because when we place the Windage
Knob and tighten it down it will move the sight
a few clicks to the right as it tightens up.
On to the final steps!
Next Page

|