|
Once all other parts of the bolt
are in place, it is time to do the challenging task
of putting the extractor back in.

Again, it is important
that the ejector be oriented before you begin so
that the cutout part of the ejector's shaft is facing
the hole where the shaft of the extractor will go.
When the ejector is
so oriented, place the rear of the bolt against
a soft piece of wood.slightly angle it so that the
rear of the firing pin will not receive any direct
pressure whatsoever as we do not want to risk bending
the tail end of the firing pin.
It is important however
to make sure the firing pin is fully seated before
starting this step.
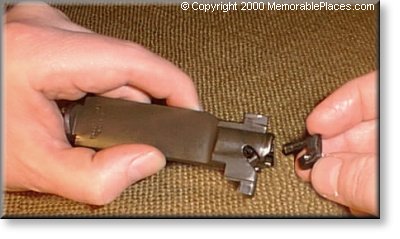
When ready to go put
the shaft of the extractor into the hole at the
top of the bolt and press it downward with your
right thumb. Hold the bolt with the fingers of your
right hand.
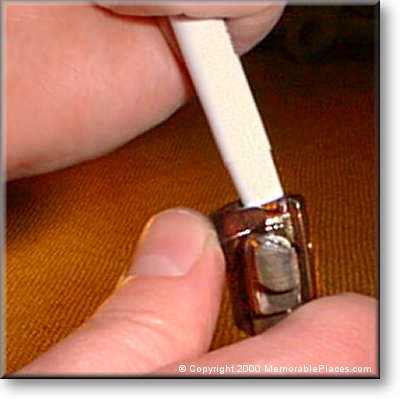
At the same time use
your left hand to push the bottom of a thick plastic
pen against the ejector and thus compress its spring.

When the spring is
depressed far enough the extractor will slip down
the hole the rest of the way sliding into the chamfer
(cutout) in the ejector and will snap into place.
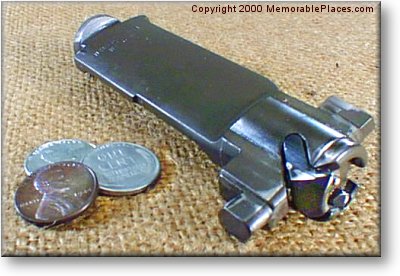
When this happens all
of the parts of the bolt are locked together in
such a way that there is little risk of the firing
pin falling out, the ejector flying free or the
extractor falling off.
Doing all of these
tasks at one time can be difficult especially if
the ejector spins around in its hole and makes it
impossible to push the extractor down.
If that happens, simply
start over and reinsert the ejector.
If all goes well then
set the assembled bolt group aside until it is time
to put it back in the rifle.


|

